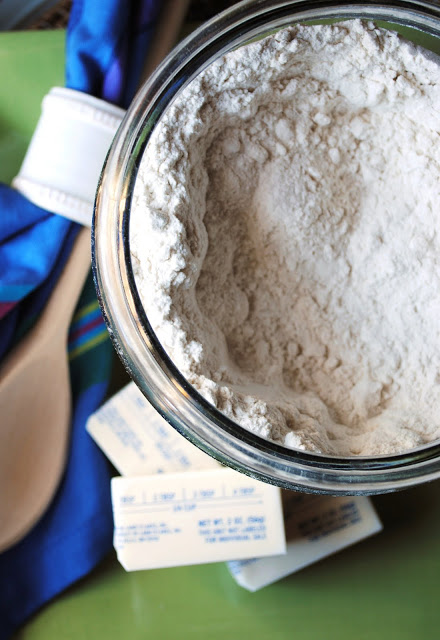
 A roux is a flour-based thickener traditionally used in gravies, sauces, soups and stews. Making a roux is very simple once you get the basics down pat: heat one part of fat to an equal part of flour and stir constantly to minimize lumps. That’s it. It’s really that simple.
The rule of thumb when making a roux is that patience is a virtue. Between the stirring and the gradual addition of ingredients, making a roux can take quite a while to allow it to reach the desired color and thickness.
There are four different types of roux: white, blond, brown and dark brown.
- White and Blond: These types are cooked for the shortest amount of time. They are considered done when the flour loses its “raw” smell and develops a toasty aroma. They are typically used to thicken sauces, soups and chowders.
- Brown and Dark Brown: These types are cooked for the longest amount of time. They often have less thickening power and are generally used in Cajun and Creole dishes.
Roux can be made with a variety of oils and animal fats. However, since an oil-based roux will separate as the flour settles to the bottom, clarified butter is the preferred fat to use when preparing a roux. Clarified butter, for those of you who don’t know what it is, is butter that is melted and made clear by separating and then discarding the milk solids. Whenever you melt butter, I’m sure you have noticed that it separates into a clear, golden liquid and a thick, white liquid that settles at the bottom. The thick liquid is made up of milk solids that, when separated and removed, will allow the clear liquid to cook at a very high heat without burning.
In the directions that follow, I will be using butter as the fat but you can make a roux out of any fat that you like (i.e. bacon fat, juices from roasted meat, etc.):
- Melt the butter in a pan until it becomes frothy and bubbly.
- Stir in equal parts of all-purpose flour.
- Whisk or stir with a wooden spoon constantly. The longer you cook the flour in this stage, the darker it will become (and the less thickening power it will have).
Once the flour and butter are incorporated and the mixture reaches the desired darkness, gradually add a liquid (milk, water, stock, etc.) to the roux while constantly whisking or stirring. Continue to stir until the mixture has reached the desired thickness. Feel free to flavor with seasonings, kosher salt or pepper before serving or adding to your dish.
If you’re not using a liquid, immediately remove the roux from the pan after the roux has reached the desired color.
So, to wrap it up, here are some important tips to keep in mind when preparing a roux:
- Keep stirring
- Add the flour gradually
With a lot of patience and stirring, you can master the art of making a roux that will help produce delicious dishes.

This is great info. that I will put to use for sure. :-)
Although making a roux is a simple process, I remember being very intimidated the first time I saw it in a recipe. I thought for sure I was going to get "little biscuits"!
Nice and informative! Great post :)
Great info! Love this Friday post!
As always, fantastic post and valuable info!
Very informative post! This is such an essential skill in the kitchen.
Everyone needs to know how to make a good roux – great post!
Wonderful information… I always thought that there was only one type the one that worked for me… but honestly i do not make roux that often.
http://polwig.com
I'm so happy to hear that all of you enjoyed the post! I find myself making roux quite often for many dishes that I prepare so I figured this would be helpful information to share!
I remember when I first learned to cook a roux. It vas as if I could master anything cooking wise after that! Now it seems really simple & I just taught my grown son how to do it. He was impressed.
Thanks for sharing this. I am kratom user can I do this.