 March is guest post month on How To: Simplify and I’m very excited to share with you this guest post written by Julia, a food blogger who covers a wide variety of healthy and indulging recipes on Fat Girl Trapped In A Skinny Body. I’ve been friends with her on Twitter (@JuliaMestas) and I love following all of the recipes and photos she posts!
In my quest to become more environmentally friendly, I thought we could start to make our own yogurt. I had no idea what this entailed though.
Would it take tons of time, money or effort? None of which I really had any interest in putting into yogurt.
I read that you can make yogurt without a yogurt maker. I did not have a desire to do that though, I won’t deny it. So I researched yogurt makers and yogurt recipes. The only type of yogurt recipes I found involved two ingredients: milk and yogurt (or a yogurt starter). Seriously, that’s it? Occasionally I came across a recipe that added honey, agave, maple or vanilla. But in general just two ingredients. Alright, that seems easy enough. So I bought the yogurt maker (I found one at Sur La Table for $50). I’m committed, I’m doing it.
I started my first batch of yogurt on a Sunday evening at 4:00 p.m.
Ingredients:
- 4-5 cups milk
- 3/4 cup plain yogurt, with live active cultures
Directions:
- Warm the milk in a saucepan over medium-high heat. Warm the milk until it is almost boiling, but not quite (which took about 5-7 minutes).
- Take it off the heat and let it cool to about 80 degrees, give or take a few degrees (I just stuck my finger in the pot and if it felt a little cooler than a jacuzzi I knew it was good to go). This will take 45(ish) minutes to cool. This is non-working prep time so you can go for a run, watch a recorded hour-long show, clean the house, take the dog for a walk, go to the grocery store, etc.
- Once it has cooled, add 3/4 cup of plain yogurt to the milk and stir in until it is completely mixed in. Fill each glass jar with the yogurt/milk mixture. Fill it just until the neck.
- Screw on the lids. Put the jars in the yogurt maker and put the plastic covering/lid on the machine.
- Set the timer for 11 hours (that is the amount of time I have found works great for 1% milk).
By that time it was 5:15 p.m.
The next morning I woke up at 5:00 a.m., so excited to see my yogurt. Did it turn out? I was sort of nervous too. What if this is all a scam? What if the only way to get decent yogurt is from the store?
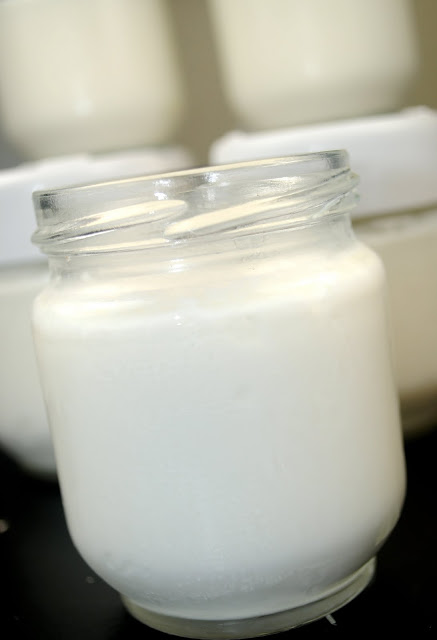
I took off the plastic covering and unscrewed the jar of yogurt. Stiff, firm, solid. Whatever you want to call it, it was yogurt, and not the running kind, but a good, firm, smooth texture. Man was I excited.
After the 11 hour “cooking” time you just put the jars in the fridge to chill. They can stay in the fridge for up to 10 days.
Conclusion:
- 15 minutes of actual work to make 7 jars of yogurt.
- The yogurt is delicious.
- The two questions people keep asking me:
- Can you use non-fat milk? Yes.
- Can you use fruit to flavor it? Yes. Make a puree and add that to the top after the yogurt has “cooked.” So instead of “fruit on the bottom” you have “fruit on the top.”
- If you eat a 1-6 ounce container of yogurt a day, let’s say six days a week, that is $6 per week. If you make one batch of yogurt per week, that is $1.20 (even cheaper if you don’t use organic milk). That is a savings of almost $5 per week and almost $20 per month! That is huge. You will be saving money by the third month. That is what I call a deal.
After reading Julia’s guest post, be sure to stop by her blog, Fat Girl Trapped In A Skinny Body, for more delicious ideas, recipes and photos!


Great post! I've been wanting to make my own yogurt. :-)
I make my own kefir which is similar to yogurt and use it in many of my recipes. I also use kefir in place of buttermilk.
I make my own yogurt too! I LOVE IT! It is the best!
I'm so happy to hear that you loved the guest post written by Julia! I've never made my own yogurt but I can't wait to try it!
Great guest post! Makes me want to try making yogurt even more!
Same here, Rachael! I'm glad the post inspired you!
I used to think it's going to spoil fast. Now i know the proper methods to make my own. Thanks!